Interior house painting is one of those projects that looks simple until you try it in a kitchen or bathroom and realize how different these spaces behave.
Steam builds up fast. Walls sweat.
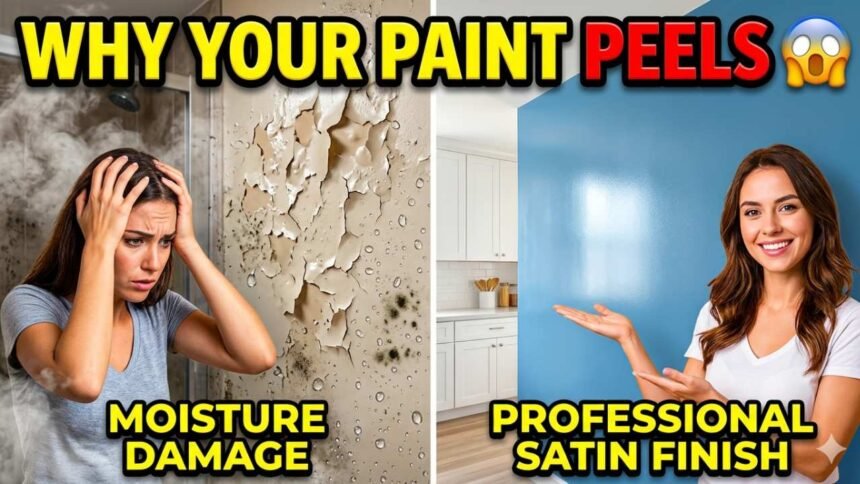
Paint fails if you pick the wrong finish or prep poorly. I learned this the hard way during a small bathroom refresh in my apartment.
Within three months, the paint started bubbling near the shower. It wasn’t the brand. It was everything else I overlooked.
Why moisture changes everything
Moisture isn’t just “a little water in the air.” It’s a constant cycle of humidity, condensation, and temperature swings that attack your walls daily.
In kitchens, grease mixes with steam from cooking. In bathrooms, hot showers create condensation that clings to ceilings and corners.
That’s why standard wall paint rarely holds up in these spaces, this is where choosing the right approach to interior house painting makes all the difference.
This combination weakens paint adhesion. It also encourages mold growth if the surface isn’t sealed properly.
Choosing the right paint finish
One of the biggest mistakes people make is choosing paint based on color alone.
Finish matters more in high-moisture areas. Flat paint absorbs moisture and stains easily.
Eggshell offers slight durability but still struggles with repeated exposure. Satin and semi-gloss finishes are where things start to work better.
They repel moisture, clean easily, and resist mildew. In my kitchen, switching from eggshell to satin made cleaning oil splatters much easier.
I didn’t need harsh scrubbing anymore. Semi-gloss is even tougher.
It’s ideal for bathroom walls, trim, and cabinets. It creates a tighter surface that moisture can’t easily penetrate.
Prep work that actually makes paint last
Most failures in interior projects come down to poor prep. Skipping this step is like building on sand.
Walls need to be cleaned thoroughly before anything else. Grease, soap residue, and dust prevent proper bonding.
In my case, I thought wiping with a damp cloth was enough. It wasn’t. A proper degreaser made a noticeable difference the second time around.
After cleaning, patching and sanding create a smooth surface. Then comes primer, which many people skip.
A moisture-resistant primer helps seal the wall and creates a stable base. It also improves paint adhesion, especially in bathrooms. If your walls have ever peeled before, primer isn’t optional.
Ventilation plays a bigger role than paint
Even the best coating won’t survive if moisture has nowhere to go. Ventilation is often overlooked but makes a huge difference.
Bathrooms should have a working exhaust fan. Not just installed, but actually used regularly.
Kitchens benefit from range hoods that pull steam and grease out of the air. When I upgraded my bathroom fan, the humidity levels dropped noticeably.
The walls stayed dry longer. The paint stopped showing early signs of wear. Good airflow protects your finish just as much as product choice.
Common problem areas to watch
Certain spots fail faster than others, even with good paint. Ceilings take the brunt of rising steam. Corners trap moisture and often develop mildew first.
Behind stoves, grease buildup breaks down coatings over time. Around sinks, constant splashes create small but persistent damage.
These areas need extra attention during both prep and painting. Applying an extra coat or using a higher sheen finish can extend durability.
How to avoid peeling and bubbling
Peeling usually isn’t random. It’s a sign that moisture has gotten underneath the paint layer.
This happens when surfaces aren’t sealed properly or when humidity is too high during application. Timing matters more than most people think.
Painting right after a hot shower is a bad idea. The walls may feel dry, but they’re still holding moisture.
I once painted a bathroom late in the evening after someone had showered. The finish looked fine at first.
A few weeks later, small bubbles started forming near the ceiling. Waiting for completely dry conditions would have prevented that.
Paint types that perform better in humid spaces
Not all paints are created equal, even within the same finish category. Look for formulations labeled as mildew-resistant or moisture-resistant.
These contain additives that slow down mold growth. Acrylic-based paints tend to perform better than older oil-based options in humid environments.
They’re flexible. They’re breathable. They’re less prone to cracking.
Some premium products also include stain-blocking properties. These are useful in kitchens where grease stains are common. Choosing the right type upfront saves time and repainting costs later.
Real-life timeline: what to expect after painting
After finishing my second attempt at repainting the bathroom, I paid close attention to how it held up.
The first week showed no issues. By the second month, there were still no signs of peeling or discoloration.
Six months later, the difference was clear compared to the earlier attempt.
No bubbling. No mildew spots.
The only change I made was better prep. Improved ventilation. And choosing the right finish. That combination made the result last.
Maintenance tips that extend paint life
Even the best paint job needs occasional care. Wipe down walls periodically to remove moisture and buildup.
Use mild cleaners instead of harsh chemicals that can damage the finish. Keep ventilation systems clean and functioning.
A clogged exhaust fan won’t do its job effectively. In kitchens, quick cleanups after cooking prevent grease from settling into the paint. These small habits make a noticeable difference over time.
Final thoughts on getting it right
Painting kitchens and bathrooms isn’t just about aesthetics. It’s about durability and performance in challenging conditions.
The right finish, proper prep, and good airflow all work together. Ignore one, and the results won’t last.
From personal experience, taking shortcuts leads to doing the job twice. Doing it right the first time saves both time and effort.
If you approach these spaces with the right strategy, the results can hold up for years without issues.